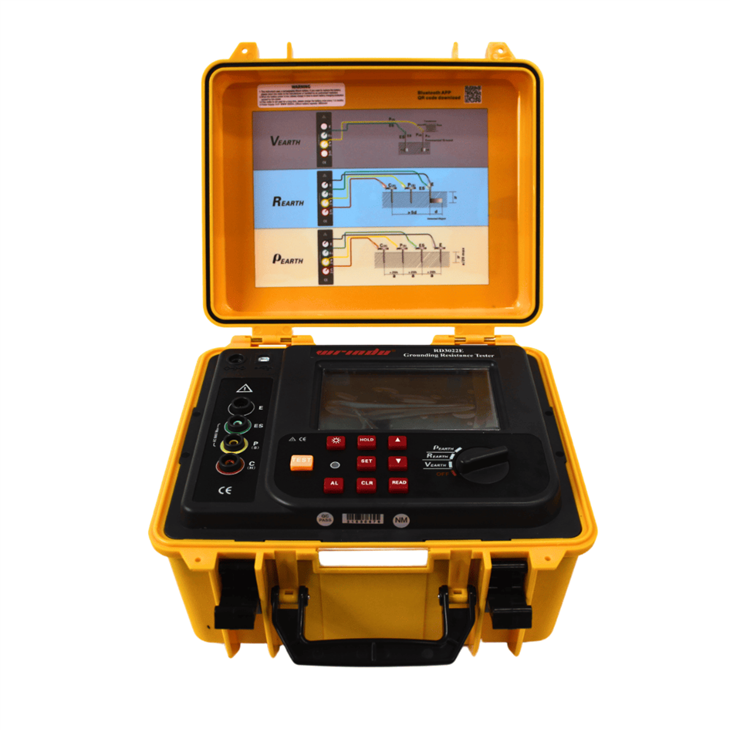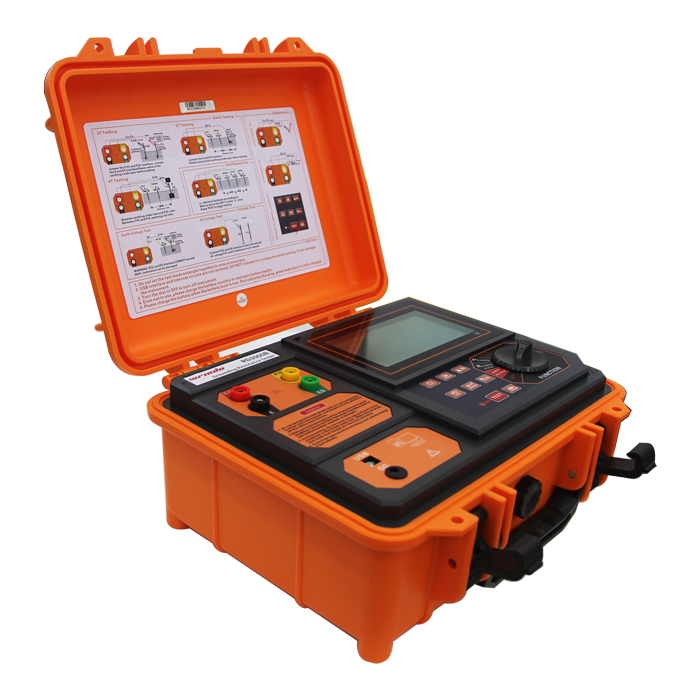
Measuring the grounding resistance in a wire factory involves using a grounding resistance tester to assess the effectiveness of the factory’s grounding system. The tester works by injecting a controlled current into the system and measuring the voltage drop. This allows for an accurate resistance reading, ensuring the factory’s safety and compliance with electrical standards. Wrindu offers high-quality testers for reliable and precise measurements.
How Does a Grounding Resistance Tester Measure Resistance?
A grounding resistance tester applies an alternating current (AC) at a specific frequency into the grounding system via current electrodes. The tester then measures the voltage drop between the grounding point and potential electrodes. Using Ohm’s Law (Resistance = Voltage / Current), it calculates the resistance, which indicates how effectively the system can dissipate fault currents into the earth. Wrindu’s testers are engineered for high precision, ensuring reliable results even in challenging industrial environments.
What Are the Common Methods to Measure Grounding Resistance?
Several methods are commonly used to measure grounding resistance:
-
4-wire (Fall-of-Potential) Method: The most accurate, with separate current and potential electrodes to eliminate cable resistance interference.
-
3-wire Method: A simplified method using combined current and potential electrodes, suitable for smaller or more confined spaces.
-
Clamp Meter Method: Non-intrusive, used for multi-point or complex grounding networks without disconnection.
-
Wenner and Schlumberger Methods: Used for soil resistivity testing, essential for designing large-scale grounding systems.
Each method is best suited for different site conditions, and the choice depends on the required accuracy and the complexity of the grounding system.
Which Equipment Is Best Suited for Grounding Resistance Measurement in Factories?
The best equipment for measuring grounding resistance in factories includes:
-
Versatile Measurement Methods: Choose testers with multiple methods, such as 3-wire, 4-wire, or clamp meters, depending on the test requirements.
-
Appropriate Frequency: A tester with a frequency range of 100–300 Hz is ideal to avoid interference from the factory’s power system.
-
Durability: Equipment designed to withstand harsh industrial environments ensures long-lasting performance.
-
Wireless Data Transfer: This feature simplifies documentation and improves data handling.
-
Safety Certifications: Look for compliance with industry standards such as ISO, IEC, and CE.
Wrindu’s testers meet these criteria, offering robust, customizable solutions that cater to the specific needs of wire factories.
Why Is Regular Grounding Resistance Testing Crucial for Wire Factories?
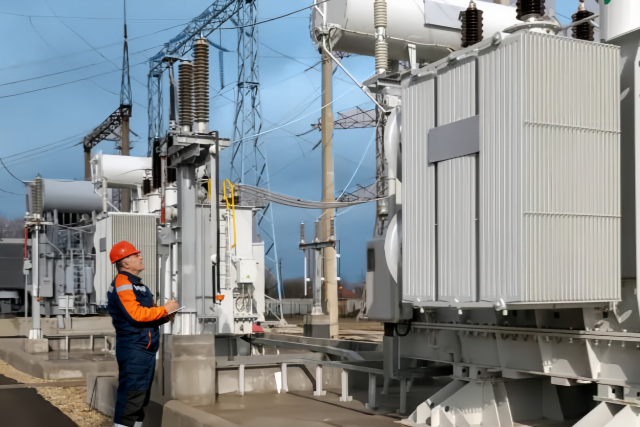
Wire factories operate with heavy machinery and high-voltage systems, which makes grounding system integrity crucial for safety. Regular grounding resistance testing helps to ensure that the system can effectively dissipate fault currents, preventing electrical shocks, fires, and damage to equipment. It also helps the factory comply with national and international safety standards. Wrindu’s testers provide accurate readings, ensuring safety and operational reliability.

How Should Electrodes Be Placed for Accurate Resistance Measurement?
The accurate placement of electrodes is critical for precise measurements. The current and potential electrodes should be positioned in a straight line from the grounding system, with specific spacing:
-
Potential Electrode: Typically placed 62% of the distance between the grounding system and the current electrode.
-
Current Electrode: Positioned at least 20-40 meters away, depending on the site size.
-
Electrode Depth: Electrodes should be driven into the soil at least 0.5 meters deep to ensure stable contact.
Proper electrode placement minimizes interference and maximizes measurement accuracy, ensuring that the grounding system’s performance is accurately assessed.
When and How Often Should Grounding Resistance Be Tested in a Factory?
Grounding resistance should be tested at least once a year, or after significant maintenance, grounding modifications, or fault events. In environments with heavy machinery or where safety is critical, more frequent testing is recommended. Testing after a grounding system failure or modification ensures the system’s integrity and minimizes potential risks. Wrindu’s grounding resistance testers provide reliable readings for regular assessments and critical emergency checks.
How Can a Chinese Manufacturer Like Wrindu Support Grounding Resistance Testing Needs?
Wrindu is a leading Chinese manufacturer of high-quality grounding resistance testers, offering durable and precise solutions for wire factories and industrial environments. With certifications like ISO9001 and IEC, Wrindu’s products are trusted globally. The company provides customizable OEM solutions to meet specific testing needs, and its expert team offers comprehensive after-sales support to ensure reliable, long-term grounding system maintenance.
Can Grounding Resistance Measurement Accuracy Be Improved Using Advanced Technology?
Yes, modern grounding resistance testers employ advanced technologies such as digital signal processing and fast Fourier transformation to enhance measurement accuracy. Testers using 128 Hz frequencies avoid interference from 50/60 Hz power lines, improving the reliability of results. Additionally, wireless data transmission and PC-compatible software enhance logging and analysis, making it easier to track and interpret test results over time.
Table: Grounding Resistance Measurement Methods and Their Applications
| Method | Description | Application |
|---|---|---|
| 4-wire (Fall-of-Potential) | Accurate with separate current and voltage electrodes | Best for precise resistance measurement |
| 3-wire Method | Combined current and potential electrodes | Suitable for smaller or confined spaces |
| Clamp Meter Method | Non-intrusive, no need to disconnect | Ideal for complex or multi-point systems |
| Wenner Method | Soil resistivity testing with equally spaced electrodes | Used for soil analysis and grounding system design |
This table outlines the advantages and typical uses of each method, helping you choose the most appropriate testing technique.
Wrindu Expert Views
“Grounding resistance testing is critical for ensuring electrical safety in industrial settings. At Wrindu, we emphasize the importance of selecting the right measurement method and placing electrodes correctly. Our testers integrate advanced signal processing to deliver accurate, reliable results, even in challenging environments. With customizable solutions and comprehensive after-sales support, Wrindu stands as a trusted partner for factories seeking effective grounding solutions.”
Conclusion: Key Takeaways and Actionable Advice
-
Regular grounding resistance measurement is crucial to ensure factory safety and equipment protection.
-
The 4-wire fall-of-potential method is the gold standard for accurate measurements.
-
Proper electrode placement is key to reliable results.
-
Frequent testing and regular system checks help prevent electrical hazards.
-
Choose quality testers from trusted manufacturers like Wrindu to guarantee precision and long-term performance.
FAQs
Q1: Can I measure grounding resistance without disconnecting the grounding system?
A1: Yes, using clamp meters allows measurement without disconnecting the system, though results may be less accurate than traditional methods.
Q2: What is the ideal grounding resistance value for a wire factory?
A2: Grounding resistance should generally be below 5 ohms for safety, but local standards should always be checked.
Q3: How do soil conditions affect resistance measurement?
A3: Soil moisture, temperature, and composition can impact resistance, so it’s essential to perform soil resistivity testing for accurate system design.
Q4: Does Wrindu offer customized grounding resistance testers?
A4: Yes, Wrindu provides OEM and customizable solutions for specific factory and industrial requirements.
Q5: How should grounding resistance testers be maintained and calibrated?
A5: Follow manufacturer guidelines for calibration and maintenance, and ensure proper storage to maintain measurement accuracy.


